Dekkia's Blog

Fixing a 40 Year old Record Player
?This is the first post on this blog that isn't auto-generated from a thread on Mastodon.
? some of the pictures in this post have been taken with a Sony Mavica, because using that camera sparks joy.
? This blog post is 100% AI-Free.
Chapter one: A lucky find on Ebay
After watching a video by Techmoan about the Sony PS-FL99 I wanted to have something similar. I didn't really care about the track order programming but having a tray-loading record player that operates by the press of a button and can automatically move the arm back and play the record again after it has ended sounded intriguing.
So I did some googling and searching on Ebay and found a Sony PS-FL77 for 120? + Shipping. (Except one outlier for 100?) those normally go for between 200? and 350?, depending on their state.
Obviously that deal had a catch: It's pretty scuffed up on the outside and there seemed to be something wrong with the electronics on the inside. The power plug also looked like it's not original to this machine and the tonearm motor was missing a belt. (These pictures are from the Seller on Ebay)
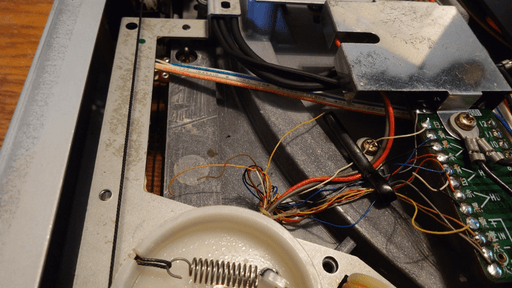
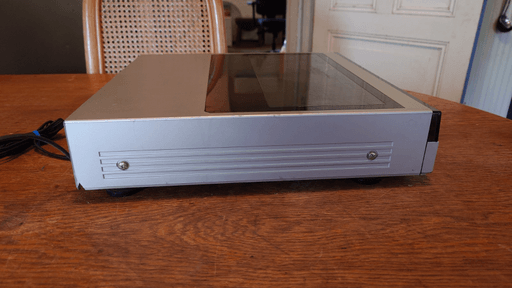
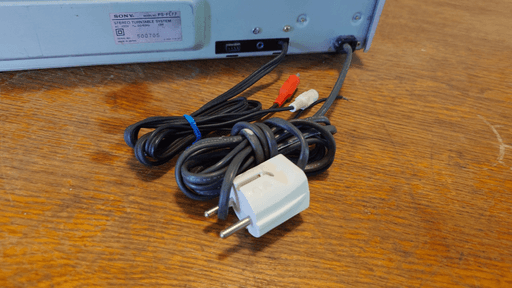
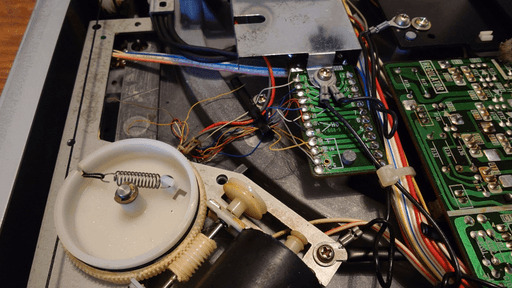
All in all I figured fixing this thing would be a fun puzzle to solve, especially since the Service Manual is archived online.
Chapter Two: Figuring out what's wrong
After it arrived it was time to unbox it and find out why it was so cheap. because why not I decided to plug it into the wall and see what happens when I press the power button:
As you can see in the Video, it turns on and even ejects the tray. Only the transparent flap on top has some issues. The only other issues on the outside where the huge amount of scuffs all over the shell, especially visible on the glossy part, and a broken piece of plastic behind the front panel.
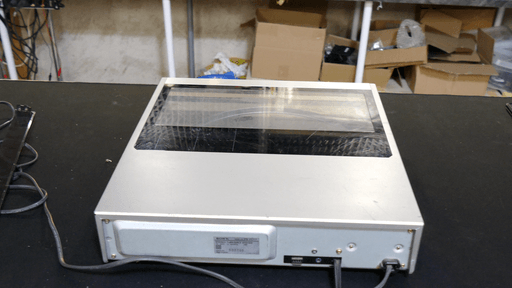
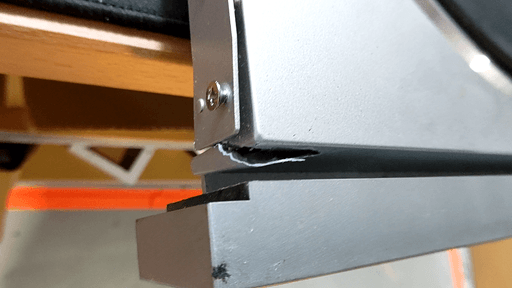
Time to open it up then. After taking out the nine (!) partially stripped brass screws that hold the bottom panel on I could take a look at the electronics. Thanks Sony for marking them with an arrow.
The loose wires and missing belt in the top left of the machine I already knew about was obviously there. But other than that I couldn't find anything else visibly wrong.
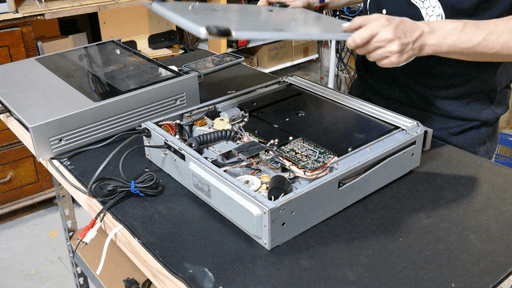
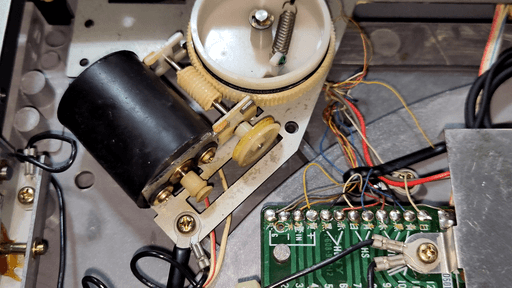
To tackle the low hanging fruit first, I decided to replace the missing belt for the tone arm. After that was in I flipped the device back around and tried to move the arm using the buttons on the front panel.
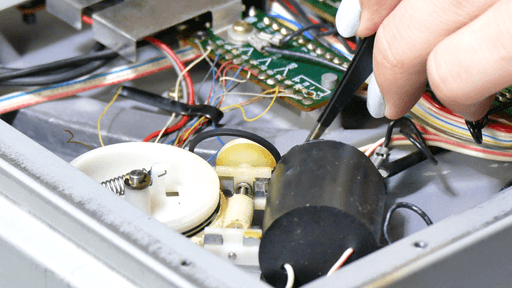 I feel like that was too easy.
Chapter tree: A disk size sensor goose chase
Now that the tonearm is able to move, let's try to play a 17cm single to see if the automatic size-detection works.
I guess that's why it felt like it was too easy.
The first thing I tried was to clean the sensor board under the platter, which obviously did nothing. So I went ahead and measured the test points on the main system control board just to find out that the PH101 photo transistors and all the supporting electronics work just fine.
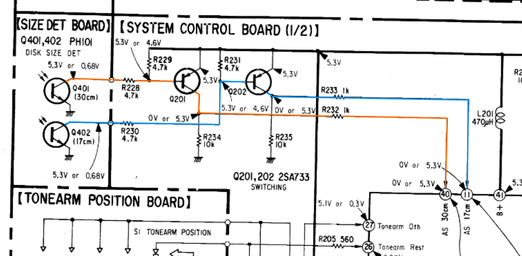
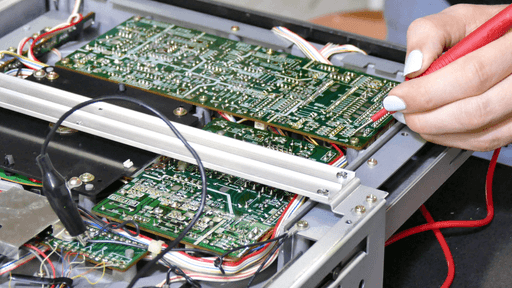
At this point I feared the worst: The LM6405A that controls everything is fried. This microcontroller has 8 Kbit of ROM on board which I don't have a dump for. If that's the case, this project would be over.
After googling a bit, I found out that a common failure point on record players with automatic size detection is a burnt out lamp. I used the flashlight of my phone to test if the sensors are working but for some reason it didn't cross my mind that there needs to be a light source somewhere inside the case as well.
And here it is, hidden in plain sight:
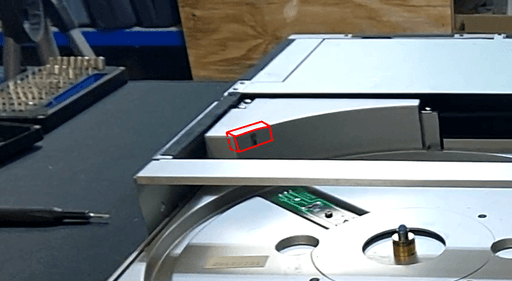
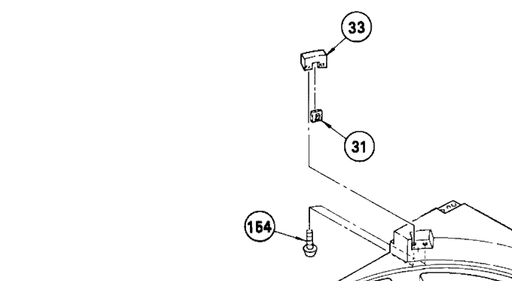
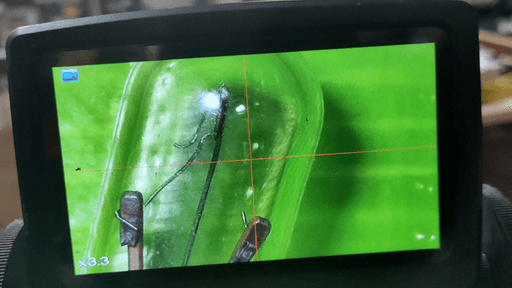
So I removed the bulb holder from the other side by removing the two brass screws holding it in place. A quick glance at it under the microscope confirmed it: the bulb just burned out which makes the sensors "blind".
Replacement bulbs are still being sold, but shipping takes time and I want to fix it NOW ?. So I opted for the second option: replace the bulb with an LED I already have lying around. Luckily the original light source was mounted in the case with a small plastic holder, so I just had to design and 3D Print a new holder that would fit one of the 5mm LEDs I had on hand.
After a few iterations I came up with a 3D model that holds the LED I wanted to use. I just needed to file the same angle into it that the plastic light guide on the original part had. I'm not sure if this was necessary from a technical perspective, but it made it look more stock.
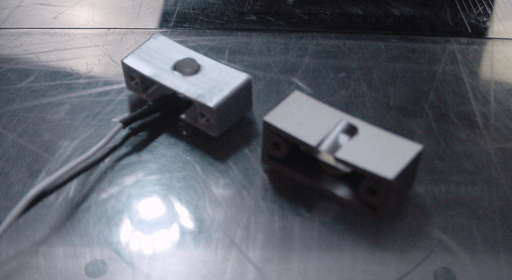
In parallel to that I looked trough the service manual for the voltage the bulb was running at. It's -11.4V. Why? Ask Sony. Having roughly 12V available was actually pretty handy because I already had some pre-soldered 5mm LEDs meant for 12V sitting around from a previous project. So I could just use one of those. I just needed to make sure to connect it the wrong way around because of the negative voltage.
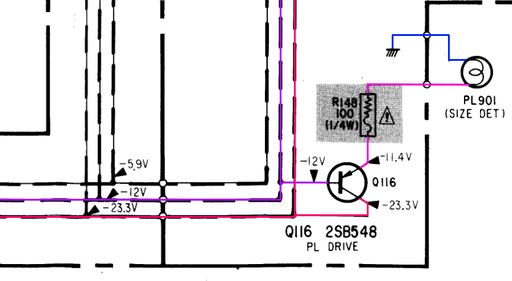
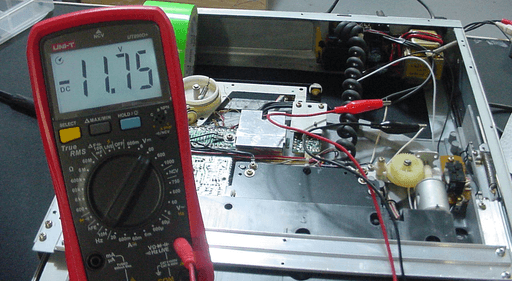
Since both of the conductors leading to the bulb where white, I had to use my multimeter to detect the correct polarity. For a classical light bulb that doesn't matter, but for an LED it does. After that I marked GND black and connected the new LED by twisting together the wires to check If it works like that and is bright enough.
I was OK with the brightness so I decided to shorten the wires to fit, soldered them together and used some heat shrink tubing to insulate them. Then I screwed the holder with the LED inserted on and secured tha cables with some tape. I probably should've tested the functionality of the sensor with that LED beforehand, but I felt pretty good about it working.
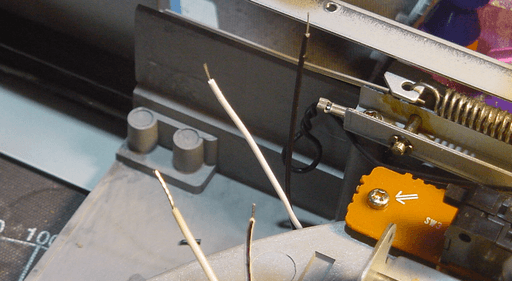
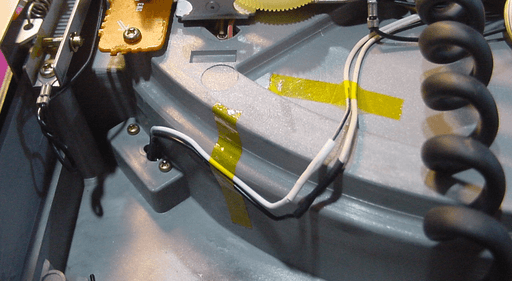
So I turned it on to see what'll happen. And it just worked. Boooring!, I want to see explosions! just like I planned all along. The only thing left to try was playing a 17cm record to see if the LED is bright enough for the sensors. And it was.
I didn't take any pictures of that, but at that point I connected a phono preamp to have a listen at the output and it sounds completely as expected. Which means the electronic side of the record player is now fully fixed.
Chapter four: Don't sniff the glue
The only thing left are the two broken parts of plastic I mentioned going into this project: The broken of arm of the transparent flap on the front and the plastic piece behind the front panel.
The scuffs and scratches will remain for now. The silver part of the shell is painted black plastic so I would need to sand and re-paint it to get it up to snuff, which I don't wanna do. The transparent part at the top could probably be sanded and polished to get rid of the blemishes, but I also don't want to do that either. Maybe in the future. For now I'll only fix the two big an visible issues.
I'll tackle the broken plastic piece behind the front panel first. It's not really visible because the flap goes in front of it when opening the record player. When it's closed it's hidden behind the front panel. So the fix doesn't have to be perfect.
First I tried to glue it back on without removing the front panel, but that proved impossible (at least for me). So I undid the three screws that held it in place and flipped it up and out of the way.
Then I just used some super glue to put the broken off part back on. I probably got more glue on my fingers than on the parts but it was enough to get it to stick together. Again, It doesn't need to be pretty because it'll be covered up anyway.
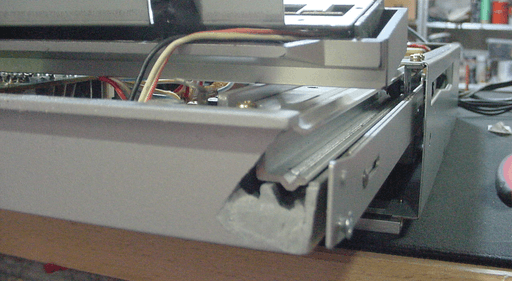
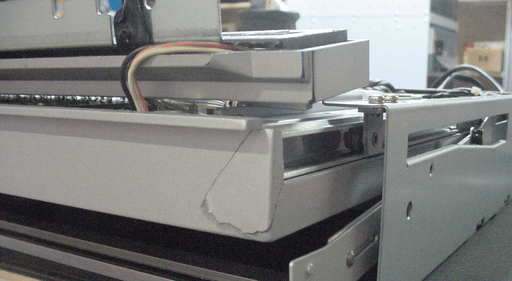
Now it was time to repair the flap. The part behind the screw hole has broken off. Now when the metal arms on either side want to lift or lower the flap it get stuck on the left side while the right side gets lifted up.
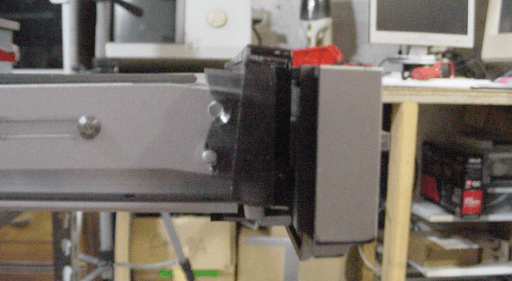
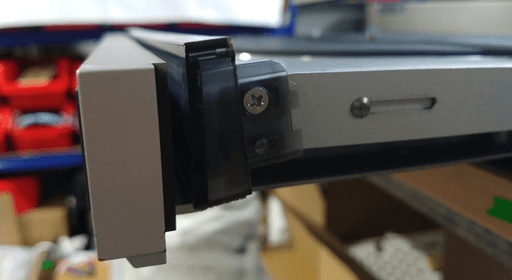
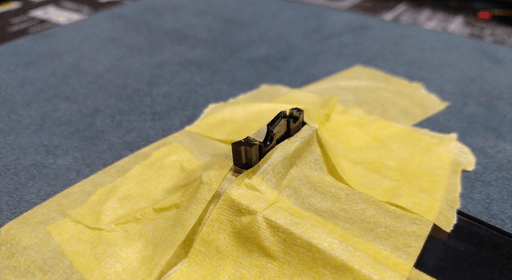
To fix this I designed and 3D printed a cutting template to evenly cut off some of the broken part below the screw hole. After that I could glue on another 3D printed part that replaced the piece that was cut off. I used some masking tape to protect the surrounding plastic from getting damaged. For some reason I didn't take a picture of the finished cut.
After cutting the broken parts away I could glue the replacement part on with some more super glue.
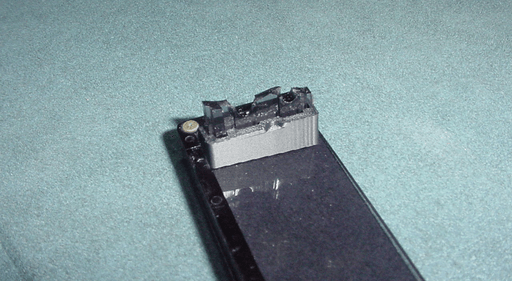
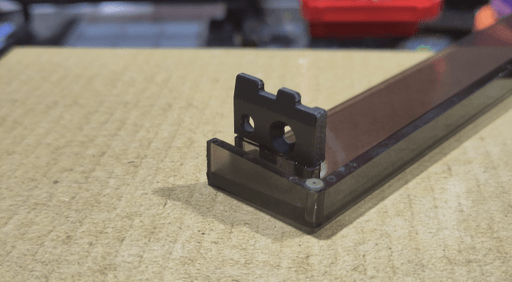
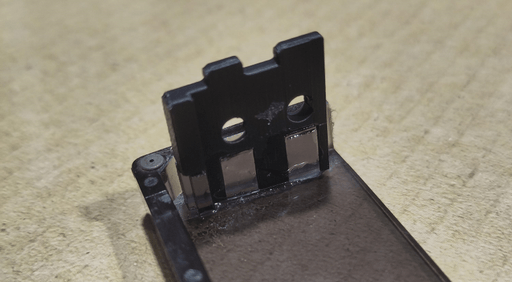
After letting the glue dry I could mount the flap back onto the record player.
I probably shouldn't have filmed this on the Mavica.
After making sure everything still works, I put some new white silicone grease on the cogs and wheels that move the tray and the arm and screwed it all together. For the bottom I used some fitting M3 screws I hat sitting around because I didn't want to put the partly stripped brass screws back. I ordered proper new brass screws, but they haven't turned up before I finished the repair.
Chapter five: Final thoughts
I initially bought this Sony PS-FL77 looking for a repair challenge. While the repair turned out to be way easier I don't think I should complain about that. I'm still unsure why there are loose wires inside the record player. Since they seemingly don't cause any harm I didn't look at them further.
There's still some stuff that could be done. There are still a bunch of wear marks all over the plastic shell and I'd be surprised if the motor speed hasn't drifted out of spec in the last 40-something years. I already ordered a new needle. While the current on works, it looks a bit wonky and I'll be replacing it as soon as the new one arrives. Except if the new one also looks wonky, in that case I'll assume that's how it's supposed to look like.
I'll tackle the cosmetic issues some day. This is a lie, but I've been told lying on the internet is allowed.
In case someone wants the 3D models, I shared them on Printables.com.
If you liked this post or found it helpful, let me know at @dekkia@dekkia.com in the fediverse. You can also follow me there or subscribe to the RRS-feed of this blog if you want to keep up to date with what I'm doing.
~ Dekkia